
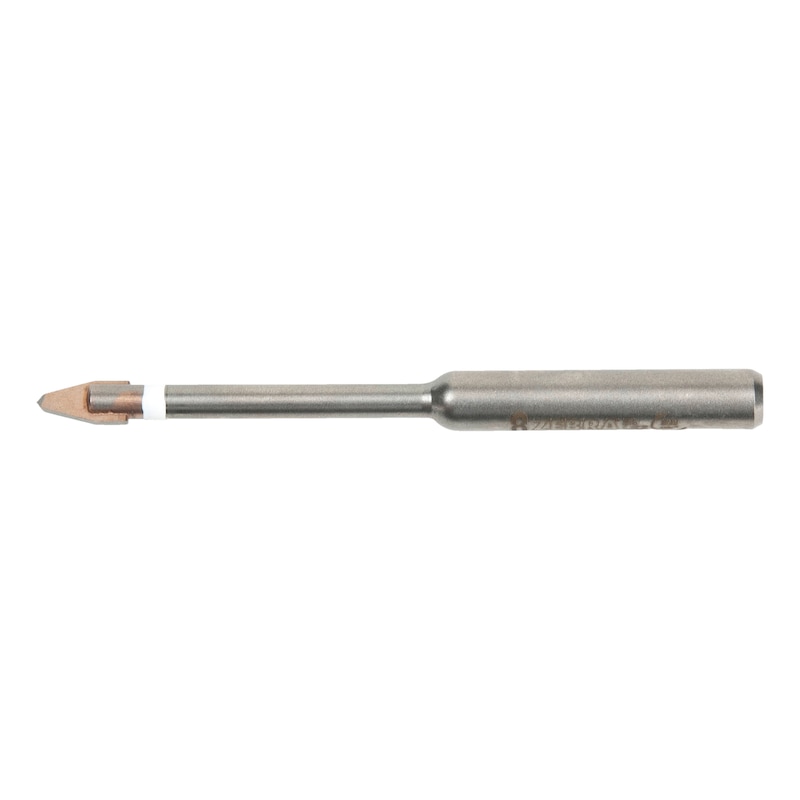
Porcelain stoneware drill bit with straight shank
Stoneware drill cylinder shank
DRL-TLE-STNWARE-CYL-D10MM
Art.-no. 0641401011
EAN 4050641971326


Register now and access more than 20,000 products
Specially designed cemented carbide plate geometry (multi-surface precision grinding)
- Highly accurate spot drilling
- Precise and break-out-free drilling
No cooling required
Dry drilling
- Max. Rotation speed 200 rpm
- Not suitable for impact drilling. For rotary drilling only!
- Optimum contact pressure 35–45 kg
- If the recommended drilling speed is observed and the optimum contact pressure applied, but you can no longer hear a "scraping" sound, the drill bit has reached the end of its service life.
- Avoid placing high contact pressure on the drill bit when it is not rotating→ Risk of breakage!
- Contact pressure too low and/or drilling speed too high → Service life ends prematurely!
- Avoid tilting and swivelling movements during the drilling process → Risk of breakage!
- We recommend drilling test holes (ideally in the waste material of the tile to be drilled)
- When using the 14-mm diameter drill bit, a pilot hole must be drilled with the additional enclosed drill bit (8 mm).
Datasheets(X)

Rotary drilling in stoneware tiles, tiles, glass (not safety glass) and porcelain. Ideal for electric and cordless drills.
1. Start the hole with point precision, applying light pressure
2. Switch on the drill
3. Apply full contact pressure → "Scraping" sound must be heard
4. Use reduced contact pressure once the tile has been fully penetrated
Diameter (Ø) | 10 mm |
Length | 122 mm |
Shank diameter | 10 mm |
Tool holding device | Cylinder shank |
Versatility (points system) | 1 of 4 points |
Service life (points system) | 2 of 4 points |
Drilling speed (point system) | 1 of 4 points |
Bore hole quality (point system) | 4 of 4 points |